Day 11
25 Days of Sitecore EXM!
Creating a Custom Email Template
Today closes out our second mini-series in 25 Days of Sitecore EXM, Creating a Custom Email Template which is intended for more of a technical Sitecore audience. We build upon the branch structure started yesterday and showcase the presentation on emails.
Audience Assumptions
This blog series makes the following assumptions about the audience reading it. In order to get the most out of this blog post, having technical experience in Sitecore is required. This blog post is going to cover concepts specific to EXM, but is not going to explain fundamental Sitecore operations fully. Additionally, this blog series is going to assume that HTML/CSS for emails are already created and associated Layouts, Sublayouts, and Renderings are already created.
Adding the Branch Template to EXM
Over the past two days, we’ve focused on creating a custom EXM Message Template that can be used to generate emails. Today’s post builds upon that by taking the completed Message Template and adding it to EXM so that it is available for selection when creating a new EXM Message.
We’ll start by reviewing that there are two different message types in EXM: Regular and Automated. We’ll cover the differences in detail during Day 12’s post. For the purpose of this example, we’ll be adding our new Message Template to the Regular email campaign. However, the Message Template we created can be used for both, and it might be a beneficial to add the template to both types. However, there is control to manage which templates are available for each type. The process for adjusting the templates displayed is the same.

Looking at the structure of the Manager Root’s Message type, we see that, like in the EXM UI, there are items that match for Regular Message’s and Automated Messages. Each type has an item called Default which helps to specify the Templates that are considered Default for each type.

Flipping back to the EXM UI, if we choose Regular email campaign after clicking the large blue Create button, we are presented with the following options.

Now flipping back to Content Editor, and looking at the Default item for Regular Message types, we see that the Insert Options of the Default item look familiar.

Clicking on the edit link, in the Insert Options field, gives us the ability to add additional template types to this field. For this example, we’ll add the Branded Marketing Announcement.
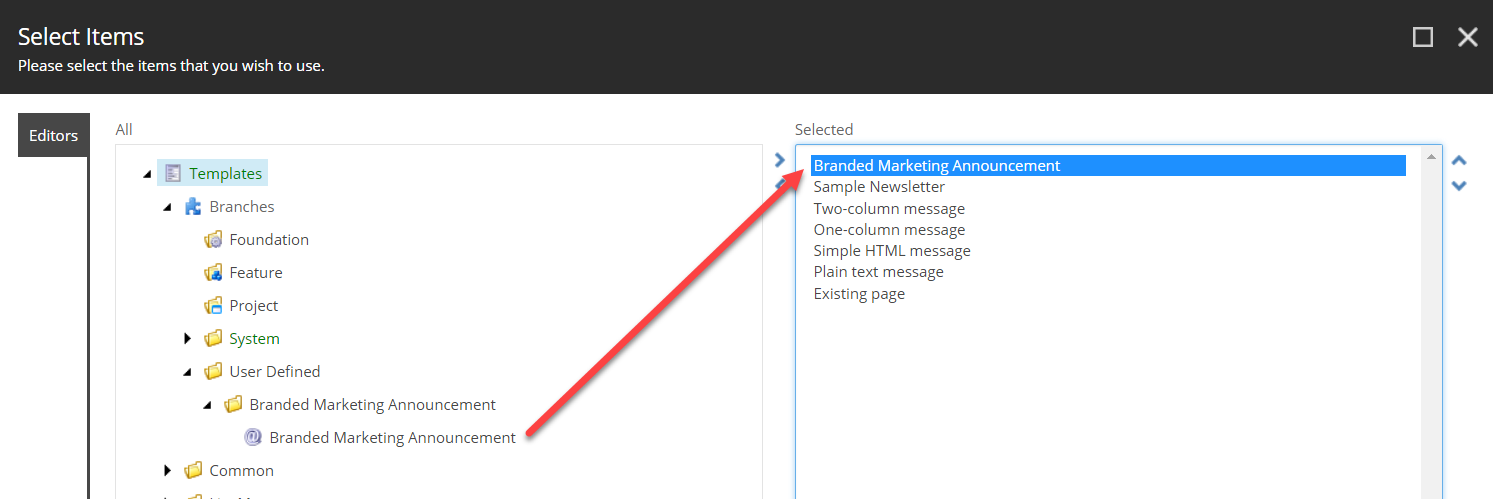
Resulting in the new list of Insert Options on the Default item.

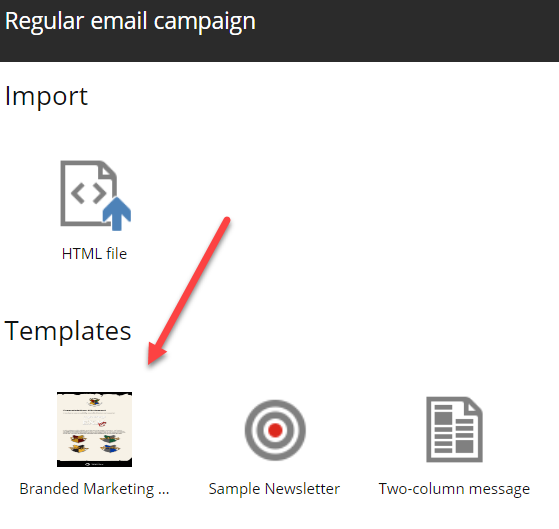
Flipping back to the EXM UI and reloading the Regular email campaign template options, you can see that our new template is now available for selection in creating a new EXM Message.

You’ll also note that our Template name is SUPER long, and is shortened automatically. This might be a good time to mention that you may wish to keep template names short so that they show up in full here. Feel free to go back to the branch template and rename the template to something shorter, and the item name will reflect here.
Adjusting the Icon in EXM
As you can see above, the icon selected on the Message Branch Template is shown as the icon in the EXM Template selection UI. What I didn’t tell you, is that you do have more control over how that appears down to providing an image that can be used instead.
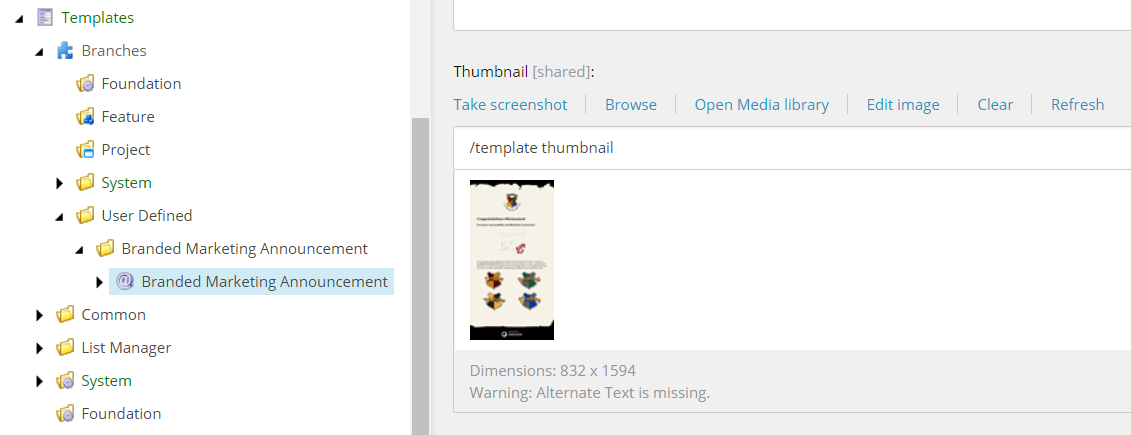
Here I have added a screenshot of one of my Corewarts messages to the thumbnail on my Branch Template message. Popping back over to the EXM UI, you can see this shows up as a square thumbnail.
For measurement, this is a 48px square image. Making this icon more contextual makes the Template selection screen more meaningful, especially if you ended up with a bunch of email templates to work with.
This completes the mini-series Creating a Custom Email Template and finishes out Day 11! Tomorrow we’ll explore and default the differences between Regular email campaigns and Automated email campaigns.
Two More Days Before Our EXM Webinar
Don’t forget to register for my Sitecore EXM webinar on December 13 EXM Live! An Email Automation Experience!
Register for EXM Live! Webinar

To register for this webinar, visit https://dx.connectivedx.com/2018-exm-webinar

Leave a comment